|
Time for making a mould and trying to cast something.
I’ll start with aluminium because of its low melting point and availability. Rather than make something useful I’ll be making a simple ingot with lots of draft and some text on the top to check out the process.
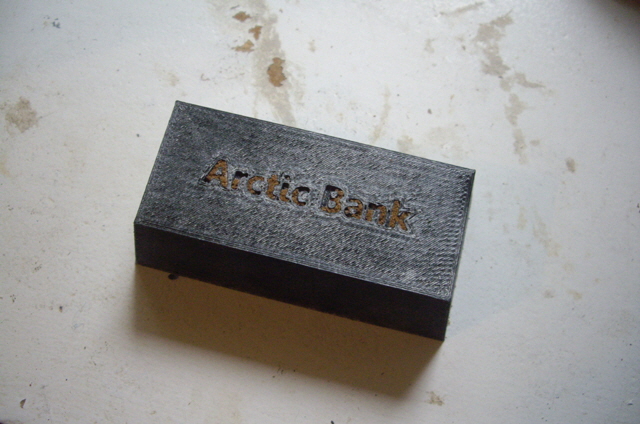
I started by designing the pattern. It was 80 mm long x 40 mm wide x 25 mm high with a draft angle of 10 degrees. The text was 1 mm deep with 3 degrees of draft, positioned on the front face. I am not at all worried by potential shrinkage with this job otherwise I’d be increasing the dimensions. The pattern was 3D printed with a 20% infill and medium resolution because this is how I hope to make future patterns. Rather than clean up the 3D print by sanding and solvent flashing I used it straight off the printer just to see what sort of finish I would get.
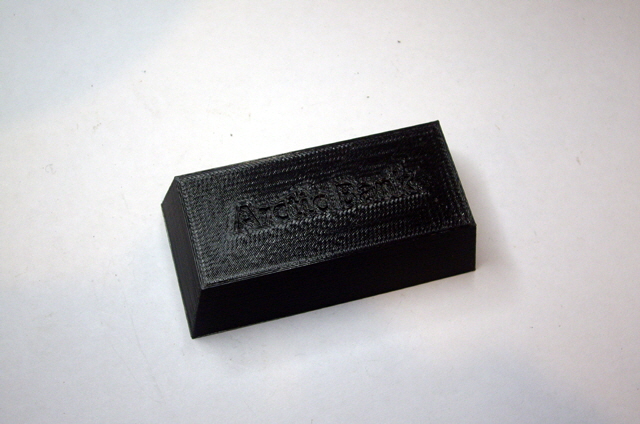
Figure 1. 3D Printed Ingot Pattern
The volume of the pattern was 63,305 mm3 with a calculated cast weight of 182 g. I’m going to need about 1/3 more metal to fill up the sprue, runner and gate. I figured on 300 g of aluminium scrap from an old TV antenna.
While I expect that the scrap aluminium surface contaminants will end up burning off or in the slag I cleaned off the grease that was used on the inside of the brackets to avoid too many fumes.
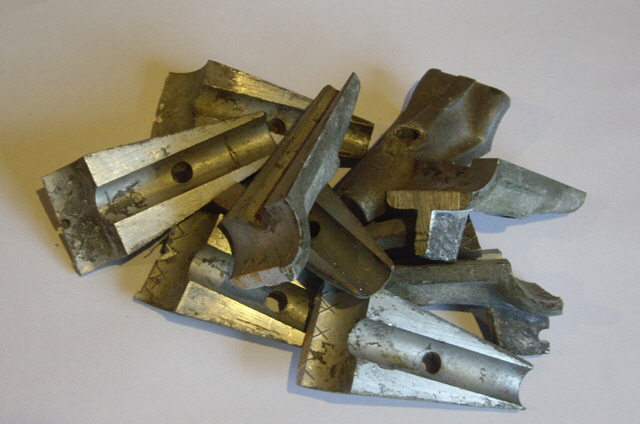
Figure 2. Clean Scrap Aluminium
Now to build the mould. Here are the steps that I used.
Clean the floor. This is necessary to avoid contaminating the mould sand, some of which will end up on the floor.
Place the pattern face down on a smooth board approximately in the centre of the inverted drag.
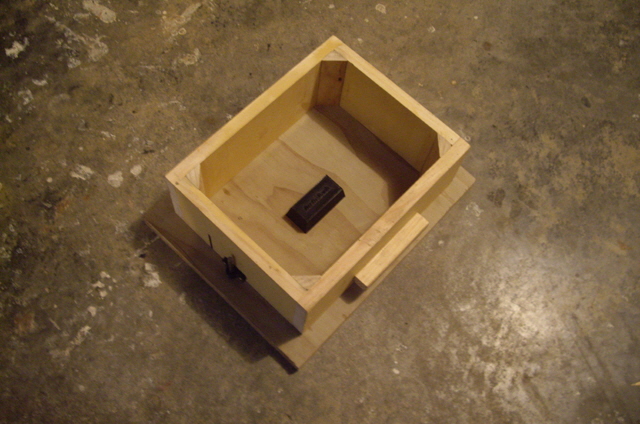
Dust everything with parting (talcum power) from an old stocking fashioned as a bag.
Riddle (sieve) the green sand in a heap over the pattern and firmly press it down taking care not to move the pattern on the base board.

Now layer more green sand over the heap by a couple of inches and ram it in place, peening around the edges of the drag. I used a piece of 4 x 2 timber for this. Rather than actually ram the layers I simply pressed down with my body weight on the 4 x 2. Build up the layers until the drag is overflowing with compressed sand.
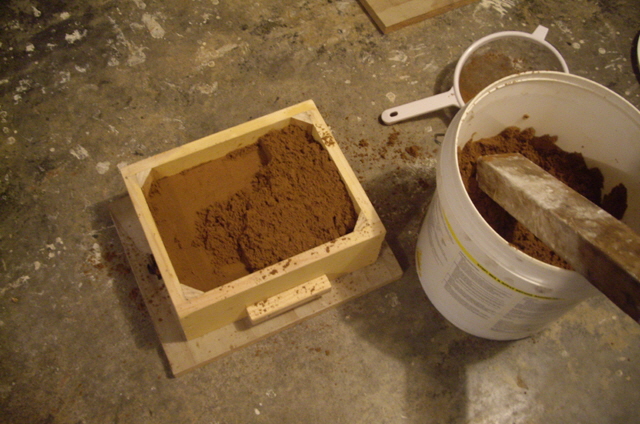
Scrape (slice) of the excess sand level with the top of the inverted drag.
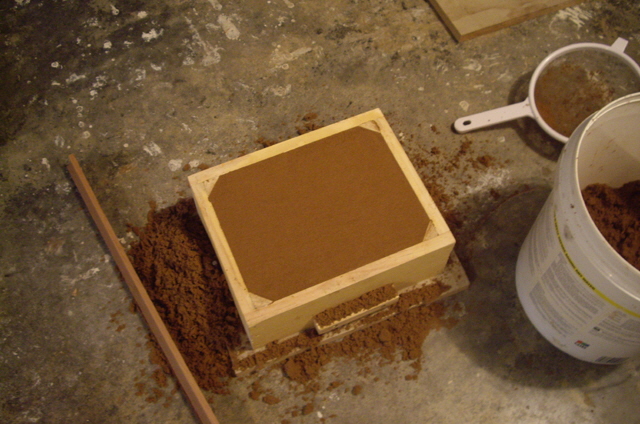
Place another board on the top of the inverted drag, turn it over, and carefully remove what was the bottom board.
Using a scriber draw the outline position of the gate (where the molten metal will flow into the mould cavity). Note the location of the gate and pattern in relation to the flask.
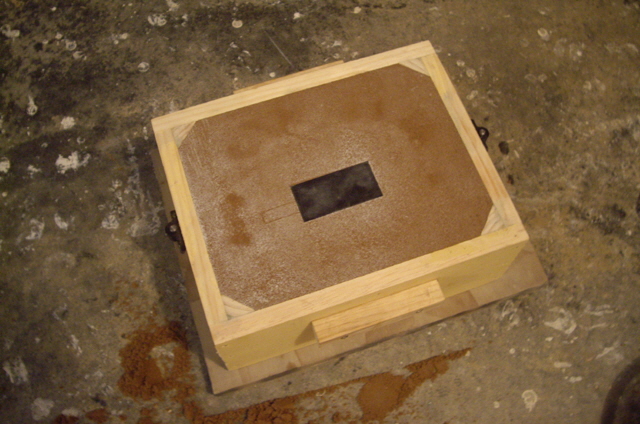
Place the cope on top of the drag and apply parting (talc) to the top of the drag.
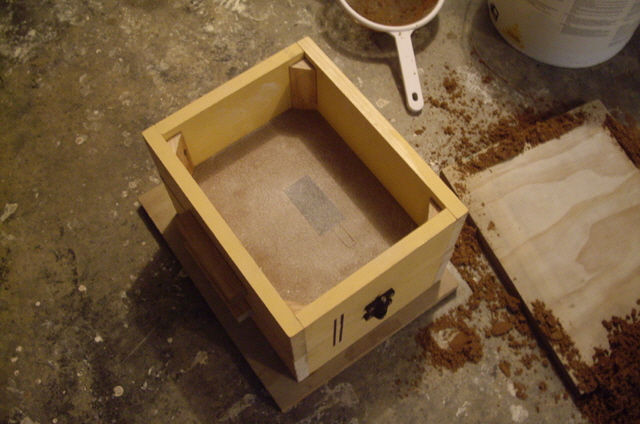
Riddle (sieve) some sand to cover the pattern, press down and then fill the cope with sand compressing it in layers, as we did with the drag (Step 5).
Strike off (with a slicing action) level with the top of the cope.
Cut the sprue slightly deeper than the depth of the cope somewhere near the gate and clear of the pattern. I used a sharpened 16 mm diameter steel tube. Form a pouring basin at least 3 times the diameter of the sprue at the top of the cope and dust this liberally with flour (yes, the sort that you’d use for baking bread).
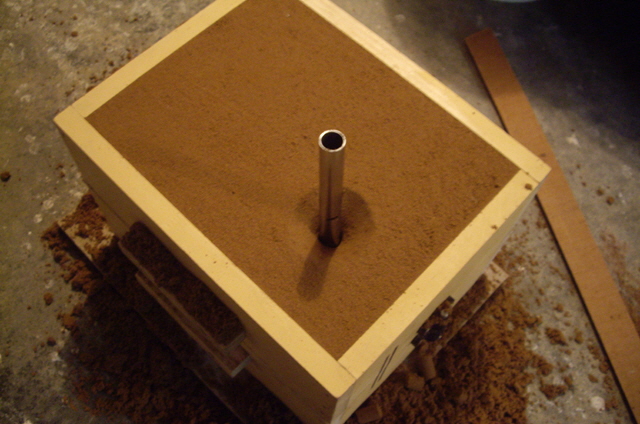
Place the original bottom board on top of the cope and gently lift it vertically, invert it and place it on the floor.
Remove any loose sand in the sprue hole indentation on the top of the drag.
In the inverted cope cut a runner from the sprue to intersect with the gate outline. I used the 16 mm diameter tube to cut an approximate half round rummer section. Fillet any sharp edges with your finger and remove any loose sand by blowing.
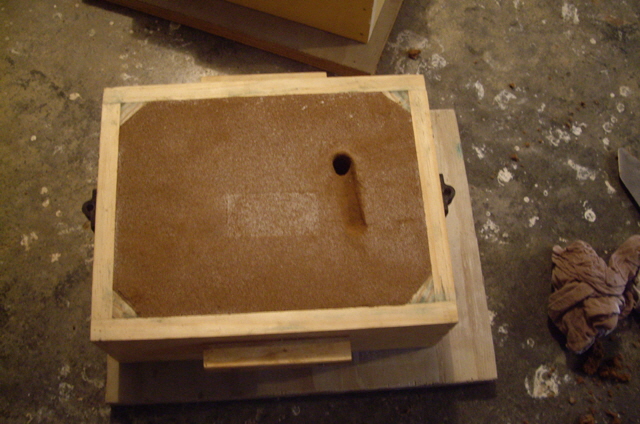
Remove the pattern from the top of the drag. Rap (tap) it gently to loosen it. I ended up drilling a small hole in the pattern, inserted a wood screw, and withdrew the pattern from the cope. A fair bit of the text came away with the pattern (I put this down to relatively course sand, insufficient ramming, pattern detail too small, rough pattern finish and insufficient draft).
In the drag, cut the gate from the pattern following the scribed outline. I used the 16 mm diameter tube. Fillet any sharp edges using your finger.
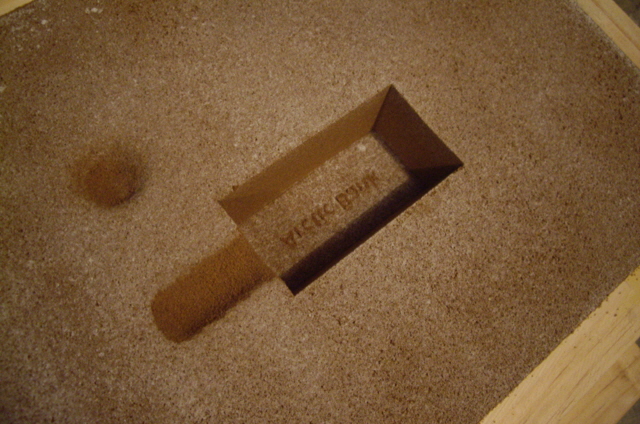
Remove any loose sand from the mould, gate, runner and sprue by blowing.
Invert the cope and gently lower it vertically on to the drag locating pins ensuring that everything is orientated correctly. Avoid bumping or knocking the flask as this may place loose sand in the mould cavity or gating system.
Apply the clamps between the drag and the cope to prevent the molten metal lifting the cope and place a piece of paper over the sprue pouring basin to prevent any loose particles of sand falling into the mould.
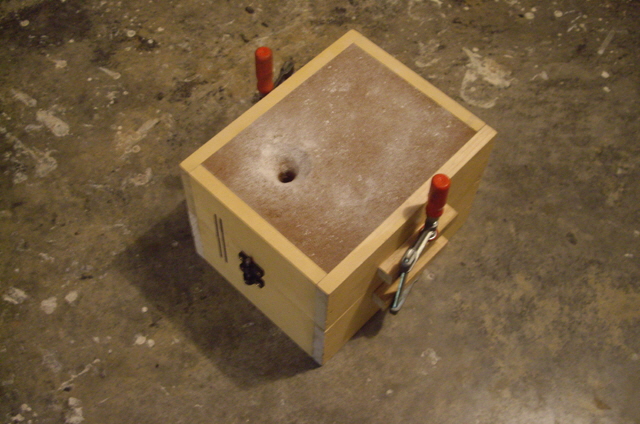
With the mould made we are ready to melt some metal.
I assembled the scrap metal, the furnace, tools for handling the crucible and removing slag, some leather gloves, and appropriate safety gear (glasses, natural fibre overalls and some leather boots). Ensure that you have adequate ventilation for running the furnace.
I placed the scrap aluminium in the crucible with about half a teaspoon of borax, put the crucible in the furnace, light and insert the burn, and put the furnace lid in position. The charge had entirely melted within 10 minutes from a cold furnace. I lowered the final piece of scrap into the crucible (which wouldn’t fit in the initial charge). It was molten in about two minutes. I left the furnace on for a further three minutes and set about removing the slag, avoiding stirring the molten metal excessively. I should have put a pinch more borax onto the molten charge to forma flux layer to prevent gas absorption by the molten aluminium.
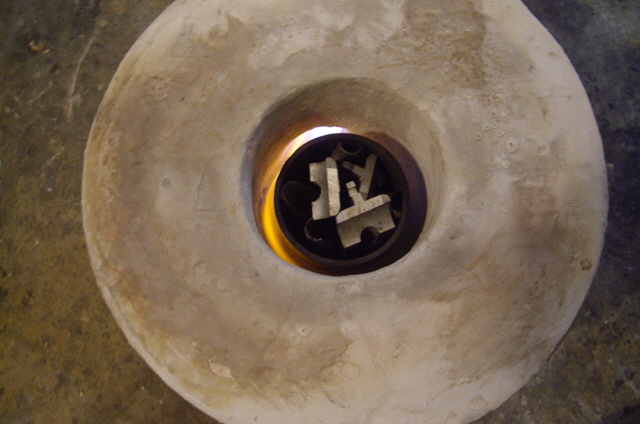
Figure 2. Lighting the Furnace
I turned off the gas, removed the furnace lid, and fitted the crucible lifter. The crucible had stuck to the base of the furnace cavity! This was due to the previously applied crack patch that had not been fired. Thankfully the crucible broke free without undue force.
The molten aluminium was poured into the sprue pouring basin. I couldn’t believe how rapidly I had to pour and couldn’t keep the sprue choked with molten metal. The last of the molten aluminium filled the sprue to the top.
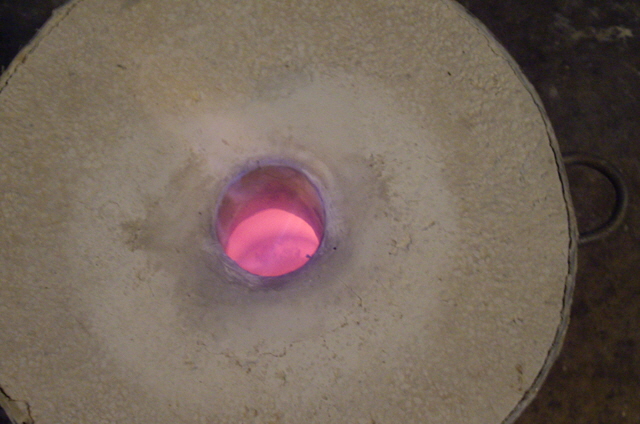
Figure 3. Just Over 660°C (Red-Orange Colour Temperature with Molten Charge)
At the end of the poring process I inverted the crucible on the floor and taped it a few times to knock out any remaining aluminium and slag.
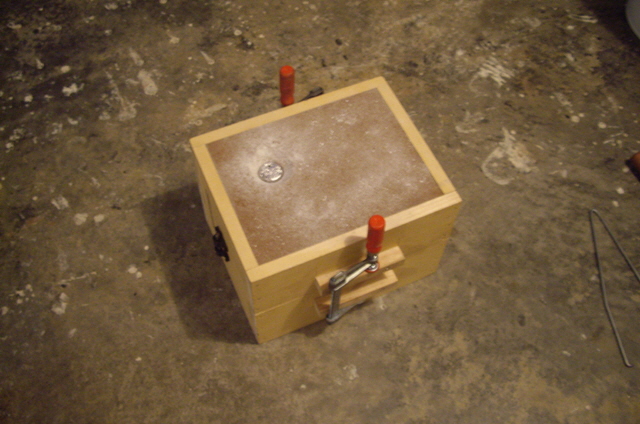
Figure 4. The Pour Completed
With the mould poured I waited for 30 minutes and broke open the flask. Whoot!, there it was – a cast ingot.
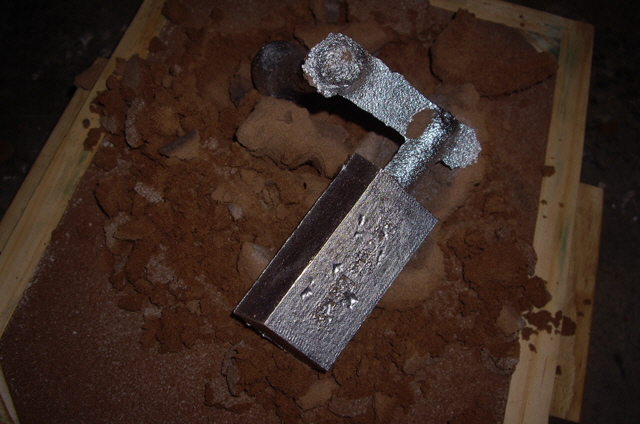
Figure 5. First Look at the Casting
The ingot is far from perfect but it was a great first effort. Click here to read about the post-mortem.
|